 Brains, wonderful brains! Fresh from the skull, warm, bloody and wobbly; is there anything sweeter? But getting them can be such a hassle! Apart from getting scarcer every day survivors are just so damn hard to catch. They move ridiculously fast and have a tendency to get all stabby-choppy-chainsawey for no reason at all. Luckily you can now make great tasting bloody brains at home! (This recipe – or least the best version of it we’ve found – is from KraftRecipes.com. The Oozing Brain Recipe article even has a nice little video tutorial.)
Stuff to Get
You’ll need the following:
- 1.75 cups of boiling water.
- 12 oz. (normally four small or two large boxes) of “Brain” gelatin. JELL-O Peach gives the best color but we like the taste of Cherry more.
- 5 oz. (usually one can) evaporated milk.
- 1.75 cups cold water (you’ll use it in two halfs).
- 3 oz. (one small box) “Blood” gelatin. Strawberry or Cherry works best.
- 2 Tbsp. cornstarch.
- A brain mold. We used the Accoutrements one we reviewed but there are many others available.
- Cooking spray.
The process takes about 20 minutes to get started, then an hour of set-time followed by another 20 minutes of work then two or three hours final set time and a bit more work. Plan accordingly!
Stuff to Do
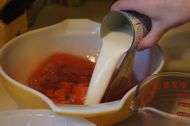
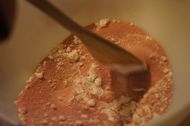
Get everything ready and wrangle any assistants that you’ve acquired. You’re going to need a largish mixing bowl and smaller microwavable bowl. Pour your brain gelatin into a bowl and add the boiling water. Stir it for a couple of minutes until everything is dissolved. Stir in half of the cold water and the milk.
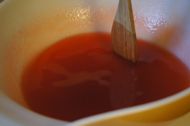
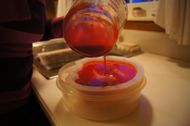
Pour your brain gelatin into your mold but give the mold a good shot of cooking spray first to make removing it later much easier. Put it in the refrigerator for an hour or so. You want the gelatin to set (non-liquid) but not completely firm. Now for the blood. Mix your blood gelatin and cornstarch in a microwaveable bowl and stir in the rest of the cold water until everything is dissolved. Microwave the concoction on high for three minutes and stir while hot. Using a soft spatula gently pull the brain from the edges of the mold and drizzle in the blood. Use about half of the here. Put the brain and the remaining blood in the refrigerator for two to three hours or until firm.
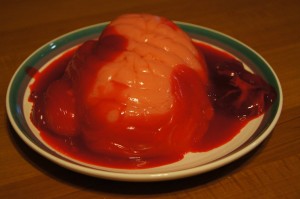
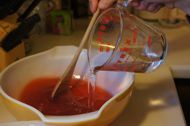
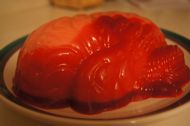
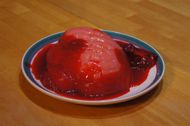
Unmold your brain onto your serving plate. You might want to sprinkle some water on the plate first as it makes it much easier to reposition the mold. Microwave the rest of your blood on high for a minute. Drizzle this over the brain decoratively.
You can serve with warm blood or chill again as you like. We like to slice top to bottom as each slice is sure to get both some cortex and cerebellum (the lizard brain is especially tasty) but there is an argument to slice with the long axis and separate out the higher brain from the lower. This stuff does pack quite a punch to the sweet-tooth tho’: a little bit goes a long way.
Gallery
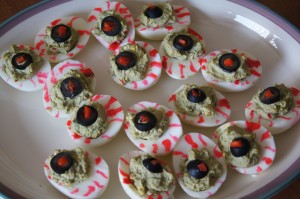
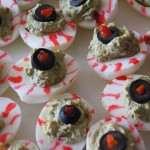
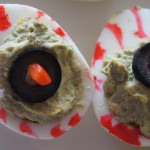
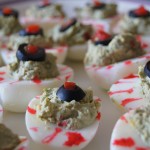
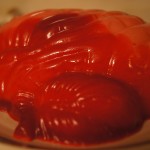
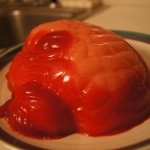
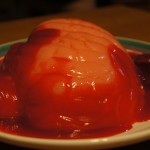
Here’s the final result. Click any of the pictures to engorge.
This basic recipe can be altered in any number of ways. Different flavors of gelatin produce different colors (anything from “fresh plucked” to “long dead” to “mutant alien”) and the list of potential mix-ins is endless. Please share your creations!

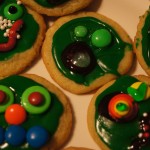
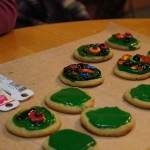
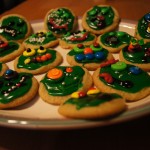
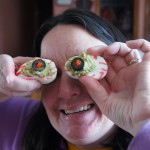
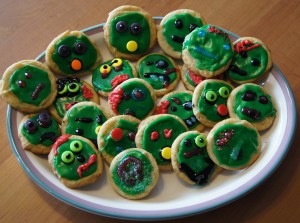
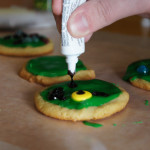
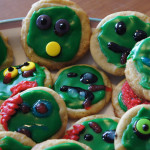
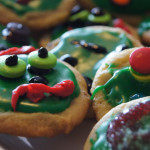
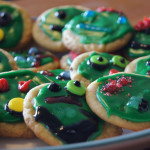
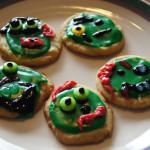
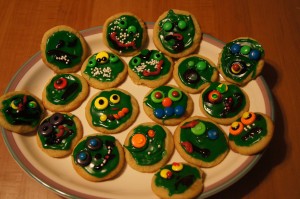 More Boiled Eggs and Brain Eaters 2014 preparation with our traditional crafty zombie cookies!


